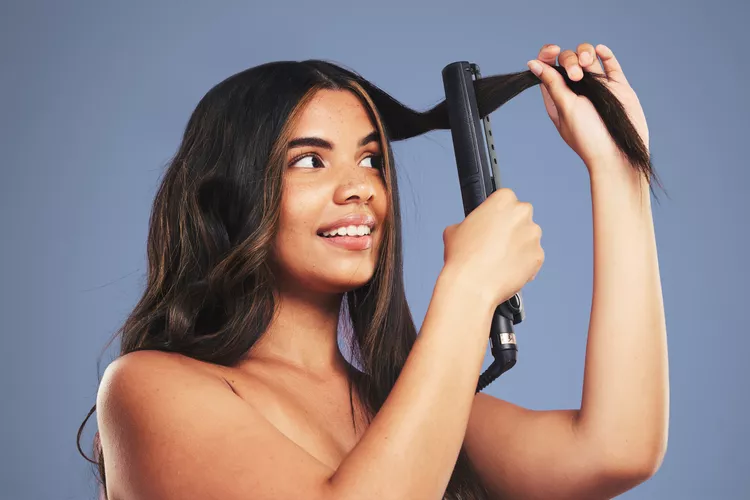
How to Achieve Voluminous Curls with a Flat Iron: Step-by-Step Guide
Only have space for one hot tool in your beauty arsenal? The flat iron is your versatile solution—it can straighten, wave, and yes, even curl your hair. Many celebrity hairstylists swear by this method for transforming straight locks into bouncy waves and curls, often achieving stunning results even surpassing those of a traditional curling iron.

However, mastering this technique can be a bit tricky at first. To guide you through the process, we’ve enlisted the expertise of top celebrity hairstylists who share their step-by-step guide on how to curl your hair using just a flat iron.
How to Curl Your Hair With a Flat Iron
We’ll explore two methods recommended by celebrity hairstylists to help you achieve texture, volume, and curls using only a flat iron.
Method 1
Renowned for her innovative hair tools, Sarah Potempa, celebrity hairstylist and founder of The Beachwaver Co., shares her routine for creating curls with a flat iron.
Step 1: Heat Styling Prep Begin with proper heat styling prep to protect your hair and ensure long-lasting styles. Potempa suggests using Beachwaver Co. Great Barrier Heat Protectant Hairspray ($28, beachwaver.com), which forms a protective layer against heat up to 450°F while providing flexible hold.
Step 2: Section Your Hair Create uniform sections in your hair to ensure consistent curls. Start by sectioning your hair from below the ears around your head, beginning at the bottom and working your way up. Prior to using the flat iron, spritz each section with heat protectant.
Step 3: Flat Iron Technique Take approximately a one-inch section of hair on the right side and position the flat iron at the root. Glide the flat iron down towards the ends while rotating your wrist to create waves away from your face. After releasing the hair from the flat iron plates, use your fingers to shape the curls as desired.
Pro tip: Opt for a flat iron with rotating plates, as the floating elements can effortlessly create curls and waves. Potempa recommends The Beachwaver Coast Pro Ceramic Flat Iron ($149, beachwaver.com) suitable for all hair types.
Step 4: Finishing Touches Allow the curls to cool completely before applying styling products to prolong their longevity. Potempa recommends spraying hairspray onto a mixed bristle brush and brushing it through your hair for soft, frizz-free waves. For added moisture and smoothness, apply a hair oil such as OLAPLEX No. 7 Bonding Oil ($30, olaplex.com) to the ends.
Method 2
Clyde Haygood, celebrity hairstylist and PURA D’OR partner known for his iconic looks, shares his technique for curling hair with a flat iron.
Step 1: Prepping Your Hair Begin by applying a heat protectant to your hair before using any hot styling tools. Haygood recommends PURA D’OR Argan Oil Heat Shield ($14.99, purador.com) for heat protection, smoothing, and detangling. Apply the protectant to wet hair and comb through from root to tip.
Step 2: Sectioning and Flat Ironing Once your hair is dry, divide it into four sections using clips: a top section, two side sections, and a back section. This method helps ensure each section is adequately dried and allows you to control the amount of curl and volume.
Clamp the flat iron approximately one inch from the root and rotate it in a complete 360-degree turn away from your face. Gently glide the flat iron downward until you reach the ends of your hair. Repeat this technique for the remaining sections, alternating pieces forward and backward for added volume.
Haygood recommends using a one-inch flat iron with smooth, rounded edges and ceramic plates for even heat distribution and hair protection.
Step 3: Setting the Curls Twist each flat-ironed section with your fingers and allow the curls to set in place. Cooling is crucial for setting the curls, so ensure all sections cool down completely before proceeding.
Step 4: Finishing Flourishes Complete the look by spraying hairspray and texture spray for desired results. Haygood suggests using these products to enhance hold and add thickness and volume for a natural, tousled look.
Expert advice: Mastering this technique may require some practice, so don’t be discouraged if it doesn’t turn out perfectly the first time. Remember, the goal is to create body, waves, and movement in your hair rather than perfect curls.

