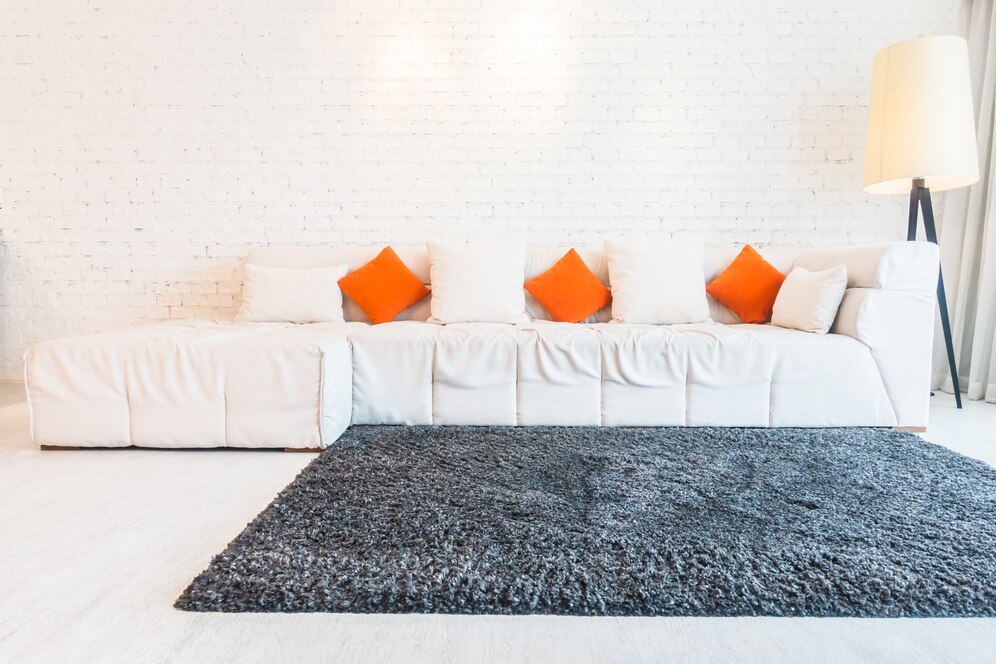
Step by Step Instructions on How to Flatten a New Rug
When you invest in a new rug, whether for aesthetic appeal, comfort, or both, there is often a common issue that arises upon unrolling it: the pesky creases and curls that can mar its appearance and interfere with the ambiance of your space. Fortunately, flattening a new rug is a manageable process that can restore its intended beauty and functionality. In this blog post, we’ll provide you with a comprehensive, step by step guide on how to flatten a new rug effectively and safely.

Understanding the Importance of Flattening Your Rug
Before we delve into the methods of flattening a rug, it is beneficial to understand why this process is essential. Rugs may arrive with folds and wrinkles due to compression during shipping and storage. These imperfections not only detract from the rug’s aesthetic appeal but can also be safety hazards. A curled edge can cause someone to trip, leading to injuries. Therefore, ensuring your rug lays flat is crucial for both design and safety.
>>> Buy now: Chanel Area Rug Living Room Rug US Gift Decor
Step 1: Preparation
Assess the Rug
Start by carefully examining your rug. Determine whether it has any specific care instructions or recommendations from the manufacturer. Knowing the material and construction of your rug will influence the flattening methods at your disposal.

Gather Your Tools
To successfully flatten your rug, you may need the following tools:
Heavyweight items (such as books or furniture)
A vacuum cleaner
Steam iron or garment steamer (if the rug material allows)
A spray bottle with water
Measuring tape (optional)
Step 2: Unfurl the Rug
Choose the Right Location
Lay down your rug in a space that is free of obstructions. This will allow you to observe the curvature and creases without distraction and provide ample room for movement. Make sure the floor is clean to prevent dirt from getting trapped beneath the rug.
Unroll Carefully
Gently unroll the rug onto the floor, taking care to avoid pulling or tugging on the edges aggressively. Be smooth in your movements to prevent ripping or damaging the fibers. As you unroll, observe areas where creases or folds might be more pronounced.

Step 3: Let it Breathe
Air It Out
Once the rug is unrolled, give it time to acclimate to the space. Allow it to sit in the room for several hours. In some cases, simply letting the rug lay flat on its own may be sufficient to relax the fibers and eliminate minor creases.
Flip and Rotate
If the rug is showing stubborn creases, try flipping it upside down. Laying it on the reverse side can sometimes ease the fibers and encourage them to regain their original shape.
Step 4: Employ Flattening Techniques
If the rug remains curled after the initial air-out period, consider the following techniques:
Weight It Down
Use Heavy Items: Place heavyweight objects on the creased areas for 24 to 48 hours. Books, furniture, or even designated weights can help in flattening the uneven spots.
Don’t Overdo: Ensure you don’t place excessively heavy items on the rug that might distort or damage it. Continue monitoring the rug to avoid any unintended marks.
Steam Therapy
Check Material Compatibility: Before applying steam, check whether the rug material is sensitive to heat or moisture. Wool and cotton tend to respond well, while synthetic fibers may not.
Use a Steam Iron or Garment Steamer: Hold the iron or steamer a few inches away from the rug and allow the steam to rise. This will help relax the fibers. Gently press the rug with your hands, smoothing it down with the steam.
Let It Dry: After steaming, let the rug dry completely before applying additional weight or furniture.
Light Moisture Spray
Fill a Spray Bottle: Lightly mist the wrinkled areas of the rug with water. Take care not to saturate it; this technique works best with a fine mist.
Flatten by Hand: With clean hands, press down on the wrinkled areas and smooth them out. This method is particularly effective for natural fiber rugs.
Step 5: Vacuum and Final Touches
Once the rug has flattened and dried, give it a light vacuum to restore its pile and remove any residual dust. Vacuuming also helps to uplift any areas that may still be flat or matted from storage.
Final Placement
Reassess the placement of your rug within your space. Ensure it is positioned according to your design plan and free of obstructions that could lead to curling or damage.
>>> Read more: 5 Reasons to Own a White Marvel Hoodie in Your Wardrobe
Flattening a new rug is an essential step in ensuring that it not only enhances your space aesthetically but also promotes safety and comfort. By following these step-by-step instructions, you will simplify the process, allowing you to enjoy your new addition without the annoyance of creases or curls. Remember, patience is key—though some rugs may take longer to flatten than others, a little care and the right techniques will yield beautiful results. Embrace the journey of making your home a more inviting place with your stunning new rug!

